So the wife wanted to upgrade to a king sized bed and being the cheap person that I am I was against the idea because that meant buying a new headboard, etc. Eventually, my resistance of the upgrade was outmatched. The compromise was we'd try to make a fabric headboard, like the many that appear on Pinterest. After numerous trips to Nebraska Furniture Mart a king sized Serta iComfort mattress somehow found its way into my house and it was time to figure out how to make a headboard. I was good about taking pictures in the beginning ... but the later it got the more urgency to finish so the pictures suffered. At any rate... I won't go so far as to say it was "easy" but, it was not as hard as I anticipated it would be and was significantly cheaper than buying one in the store (even with the extra costs buying stuff we didn't end up using); here's how I made it.


I used 3/4" Plywood for mine, bit of bulk to it, but sturdy. Have Home Depot or Lowe's or wherever cut it to size for you, just easier that way and one less thing for you to hassle with doing. Size will obviously depend on the bed size, for our king I made it 78"x36". As you see we put buttons on ours, so first thing I did was to measure and mark where I wanted the buttons, laid them out, and made sure that we liked the look. After that, drill the holes through the plywood, these holes will be used to string the buttons through later, its much easier to drill them first and poke through the other layers, drill will twist the batting. I made the marked up side the 'back' so I'd have the reference lines visible.


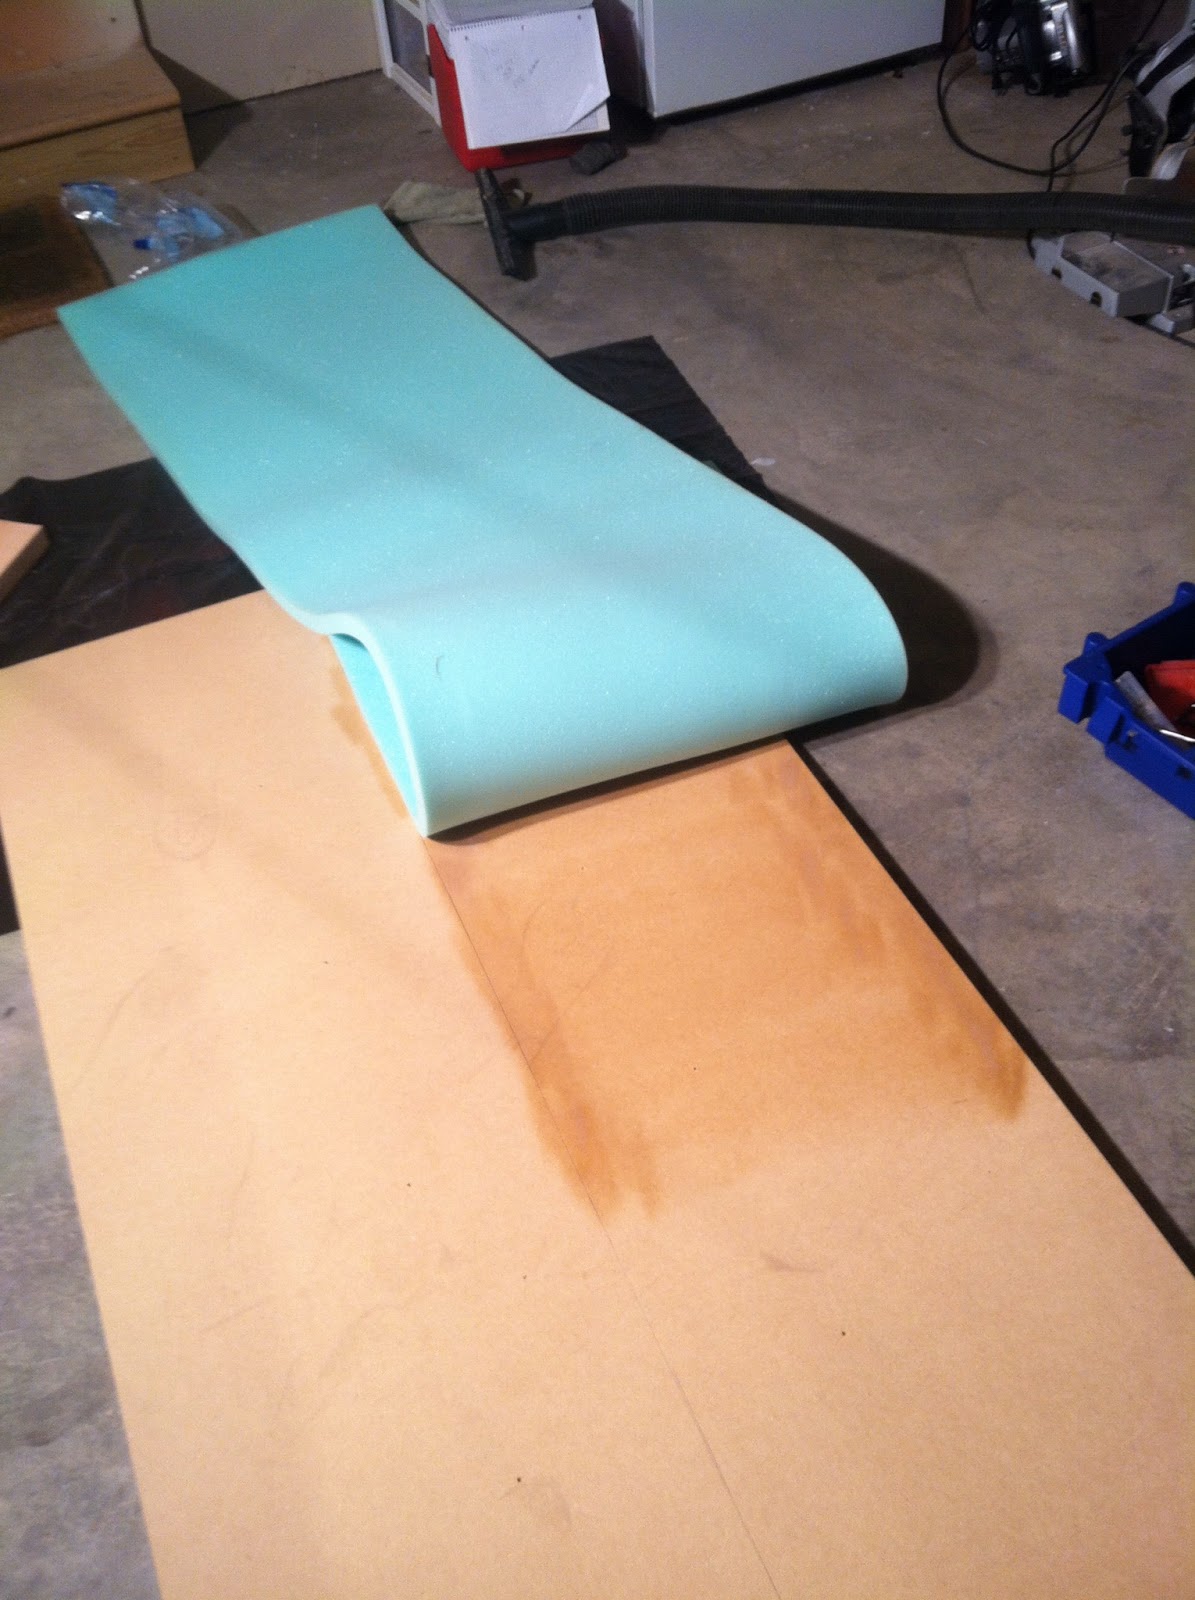
After you get this setup work done it's time to started the fabric part, this is where things get very tedious. Using spray adhesive (I used Loctite brand found at JoAnn) to glue the foam to the front of the plywood. The foam is 1" and is the most expensive part of this whole thing, so you don't want to screw this part up. Work in small sections pushing down as you go. Most important parts to get stuck down well are the edges and around the button holes. I concentrated on these areas, and only did a little bit in the middles. It's okay to hang over, you can cut it off at the end. I put the seam in the center, this resulted in more trimming, but I think the seam is better hidden. Here's the two layers after it's trimmed.


After getting the foam down, I let it dry for about 45 min. and then vacuumed it and moved the project in doors. You'll want a good amount of room for this next part, a lot of back and forth. Lay out your fabric, you'll want about 8-10" extra on all sides to allow you plenty of extra to wrap the headboard. I over bought... but better that than the alternative. Anyway, lay this out smooth after ironing it out. Then on top of the fabric, put 2 layers of high loft batting. Same principle applies, you want about 8" or so overhang on each side for wrapping. At the 36" height, I had plenty left, these are popular enough that the batting we bought looked like it was made for this.

So once it's all laid out it'll look like this:


Now start stapling. Make sure you have a good staple gun. You will need it. Air or electric would be better, but a manual works too, just make sure you hammer in the staples as you go to make sure they're good and set. Start in the center of the length, pull it tight and put some staples. Jump to the other length and do the same in the center. Then do the heights. Follow this pattern until it's all stapled, stopping about 4" from the corners. Don't be shy... I put in A LOT of staples. A LOT. I actually went around once, just getting it tight and then did another row that was very close together all the way around, to make sure that it wouldn't shift or move if it's used as a backrest. The corners suck. They really just take some trial and error to get the look you want, in the pic on the right you can see kind of how I did it, trimmed the batting back so it was a single layer and then wrap the fabric and staple the hell out of it. Again, wish I could explain it better, but I'm not 100% sure how I did it, advice I would have is to go slow and be very methodical, don't cut until you're sure how it's gonna work.
Next part is the buttons, which it really sucks I didn't get pictures of because it's probably the part that's the least self-explanatory and the most interesting. We made our own buttons, just using a basic button kit from JoAnn and scraps of fabric from the board. Buttons were super easy to make, didn't take long at all with the kit. I used drapery cord (like on mini blinds) to string the buttons since it's thicker and sturdy. Tie about 12" of string onto each button. Stand the now fabric covered headboard up and poke through the back with a sharp object, philips screwdriver or I used a wooden kabob skewer. Poke it through the hole in the back and use it to pierce the foam and batting and help you line up the needle with the button cord strung through. Oh yeah, you need a big eyed needle for that part. Anyway, fish the buttons through. I fished them all through first and then tightened them once the were all in. Make sure you have someone help when you tighten them so you can get the "look" you want as far as the indention is concerned. Pull the cord to desired tightness and staple it in a zig-zag pattern... like so to anchor it in place.

Once you get that done... you're really done. It's just a matter of mounting it to the bed. Ours is mounted, but needs some work. Most common mount is to hang it on the wall, but I have an aversion to putting holes in the wall so I'm trying to find a way to mount it like a traditional headboard to the bedframe itself.
And here's the finished product on the bed in the room.
Materials I used:
3/4" plywood - Home Depot
Fabric - JoAnn
High loft batting - JoAnn
10 Button Button Kit - JoAnn
Drapery Cord - JoAnn
1" Foam - JoAnn
Spray Adhesive - Loctite - JoAnn
Large Eye Needle - JoAnn
Staple Gun
Staples
Bamboo kabob skewer
General tools - hammer, drill, tape measure
Prices vary depending on sales but materials wise this king size headboard cost us about $250 and took me about 7 hours to make. My pictures are the best and I'm not the best at describing the process, but here's the link to the blog that I referenced the most often. She did a very good job I think explaining it and has some very good pictures:
Addicted 2 Decorating Blog